1.新建项目
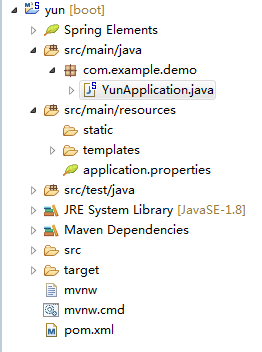
首先,我们重新创建一个名为 yun 的 SpringBoot 项目,创建完成后项目结构如图所示:
2.修改 YunApplication.java
我们将 YunApplication.java 中的内容按照如下代码修改:
|
|
下面进行一些解释:
我们在响应请求时,主要分为两种情况:
- 我们想要返回一个字符串(可能是一个 json 串)。
- 我们想要返回一个页面。
对于前一种情况,我们可以使用 @ResponseBody 注解使返回的内容为我们想要返回的字符串。对于后一种情况,我们其实返回的是两样东西:
- 一个前端页面(我们称之为 templates)。
- 该页面所需要的数据(我们称之为 model)。
一个被返回的页面同时包括这两种东西,其中 model 可以直接用如下语句赋值:
|
|
model 的每一个属性既可以是一个基本类型,也可以是字符串,列表(List)等。
templates 位于 src/main/resources/templates 下,后面我们会详细介绍。
下面介绍前面使用过的几种注解。
@Controller 注解的类会被当作一个控制器 Controller,专门用来处理不同请求不同的URL,从而有针对性的返回内容。
@RequestMapping 注解是用来处理请求地址映射的注解,可以用在类或方法上,如果用在类上,则表示所有该类中的响应方法都是以该地址作为父路径。如:
|
|
@ResponseBody 注解的类或方法在响应请求时只返回字符串,因此不能返回被渲染的模板。如我们上面提到的:
|
|
@RestController 注解整合了 @Controller 和 @ResponseBody。在该类中所有的请求都只会返回字符串。如:
|
|
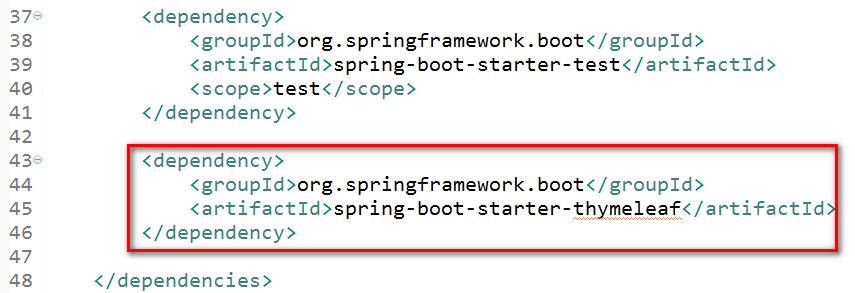
3.修改 pom.xml 文件
为了使我们的应用能够自动地去对应的位置去寻找 templates,我们需要使用thymeleaf模板引擎进行渲染。我们唯一需要做的事就是在 dependencies 标签中添加如下代码:
|
|
添加完成的结果应该是这个样子的:
4.创建模板文件
在 src/main/resources/templates 文件夹下创建模板文件 index.html,内容如下:
|
|
再在该文件夹下创建 hello.html,内容如下:
|
|
从上面的代码中,我们是可以看到模板文件是如何调用 model 中的属性的。
|
|
5.测试结果
5.1.启动项目
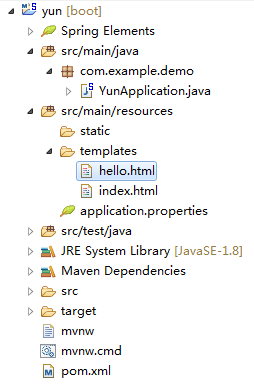
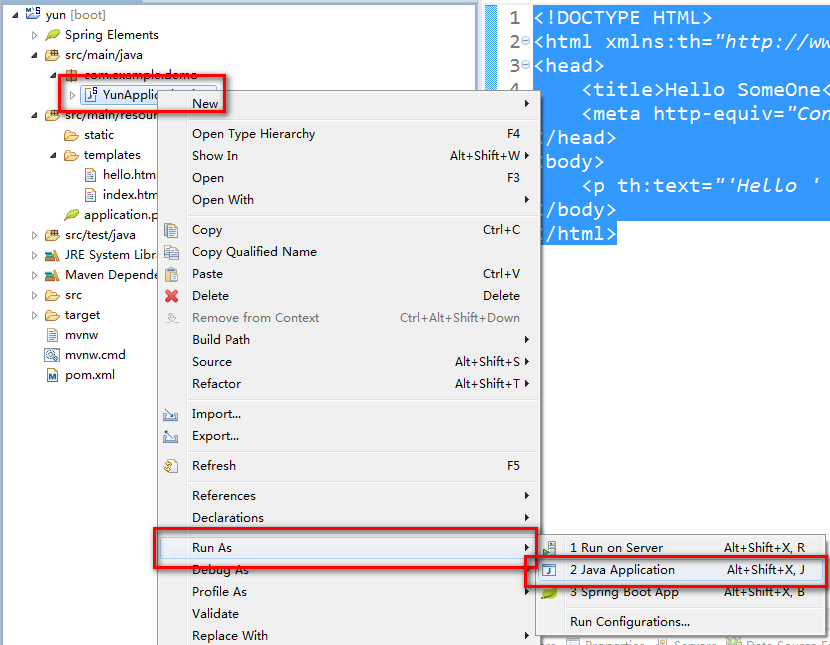
完整的项目结构如下图所示:
右键 Yunapplication.java ,点击Run as,然后选择 Java Application :
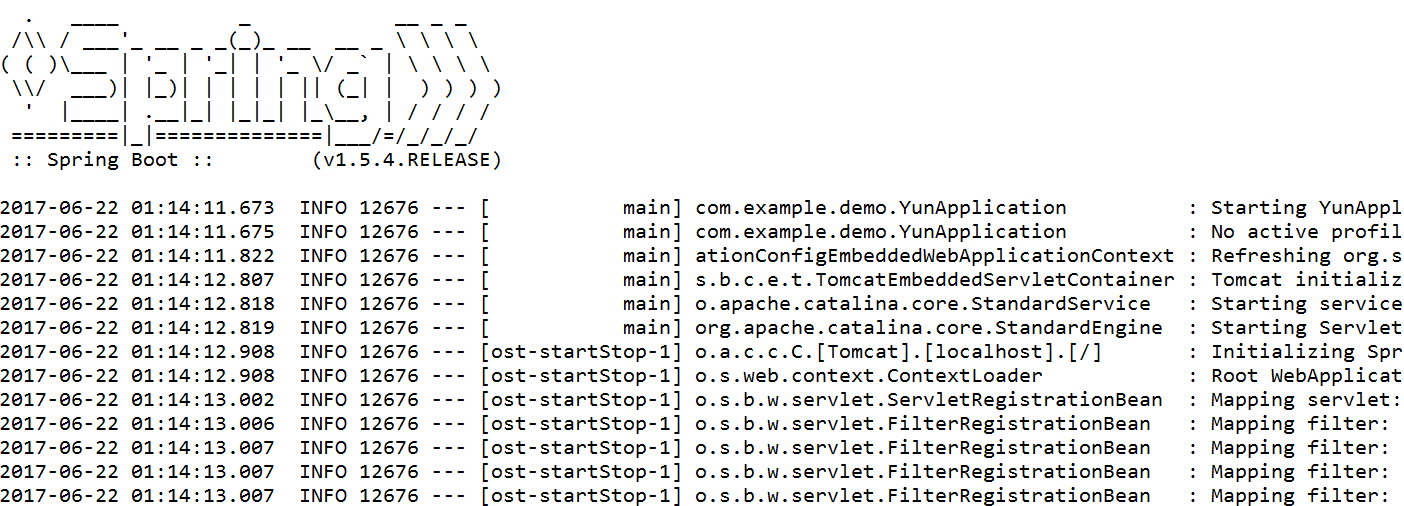
控制台输出如下所示:
5.2.进行测试
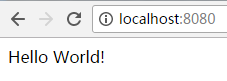
5.2.1.打开浏览器,输入:
|
|
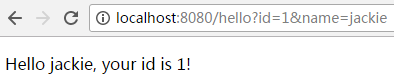
输出结果如下所示:
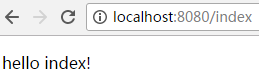
5.2.2.输入:
|
|
5.2.3.输入:
|
|
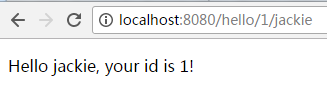
5.2.4.输入:
|
|