ActiveMQ入门之(一)ActiveMQ的安装及使用

1.什么是ActiveMQ

与 Kafka 类似,ActiveMQ 也是一种消息队列。与 Kafka 相比,其性能不如 Kafka 强大。那么,为什么要用 ActiveMQ 呢?最重要的原因在于它的易用性。Kafka 虽然强大,但是在使用 Kafka 的过程中需要部署 ZooKeeper。而 ActiveMQ 不需要提前安装依赖,部署简单,与各种语言亲和度高,这给了ActiveMQ 极强的生命力。

2.ActiveMQ的安装与部署

2.1.下载ActiveMQ

下载地址:http://activemq.apache.org/download.html

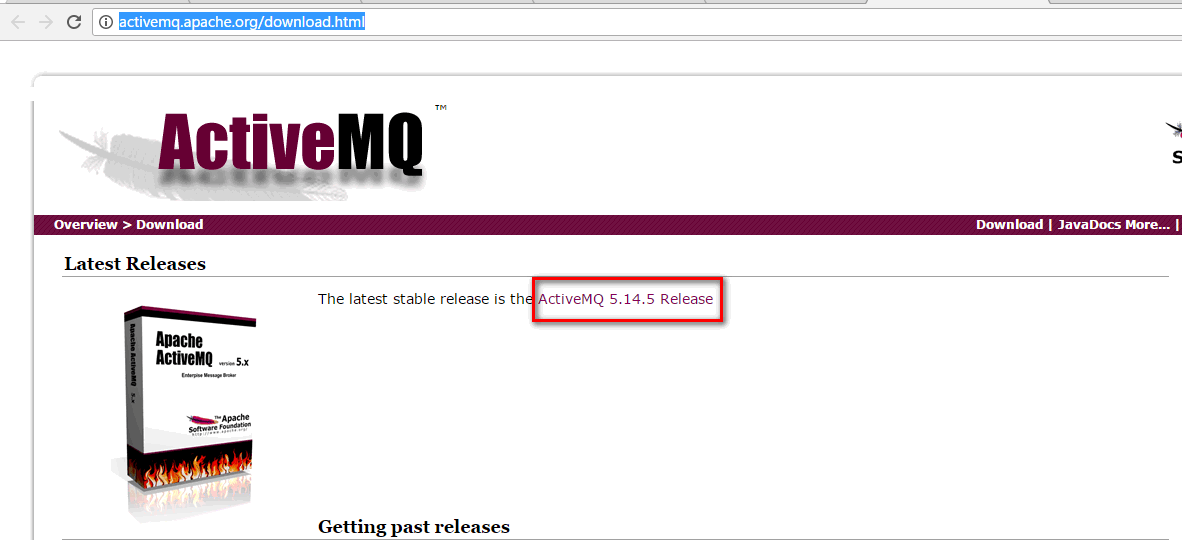
如上图所示,当前最高的版本是 5.14.5 Release。点击红色方框中的超链接,进入下载页。

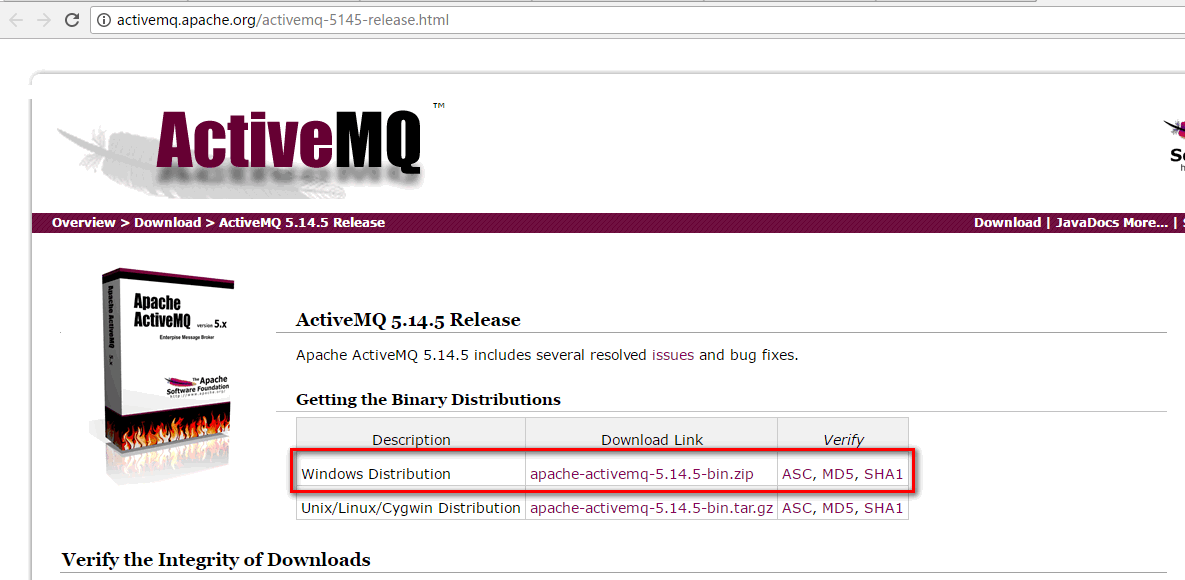
因为我们使用的是 Windows 操作系统,因此下载 zip 压缩包即可。

2.2.解压缩

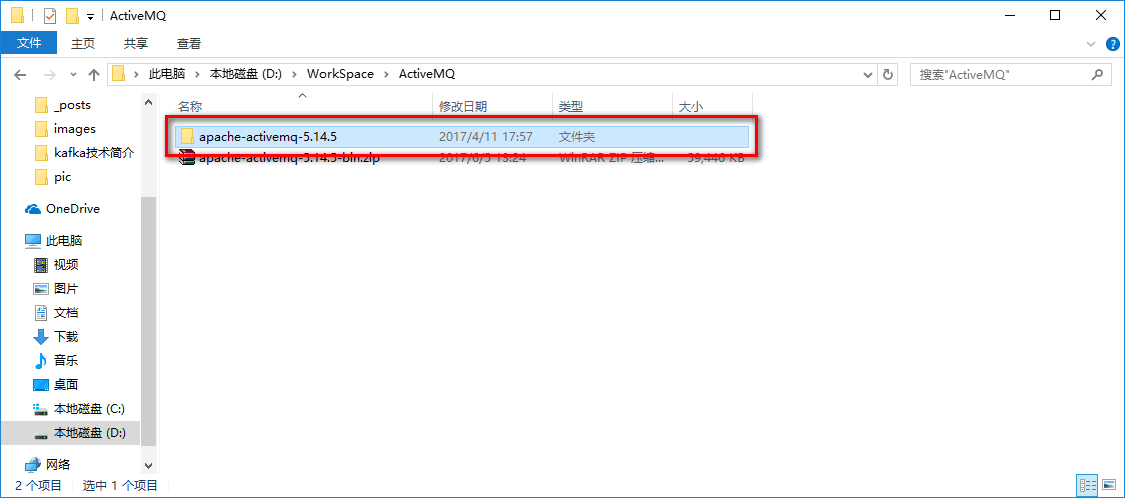
下载好之后,解压到你想要的位置,我的是 D:\WorkSpace 目录。

2.3.启动服务

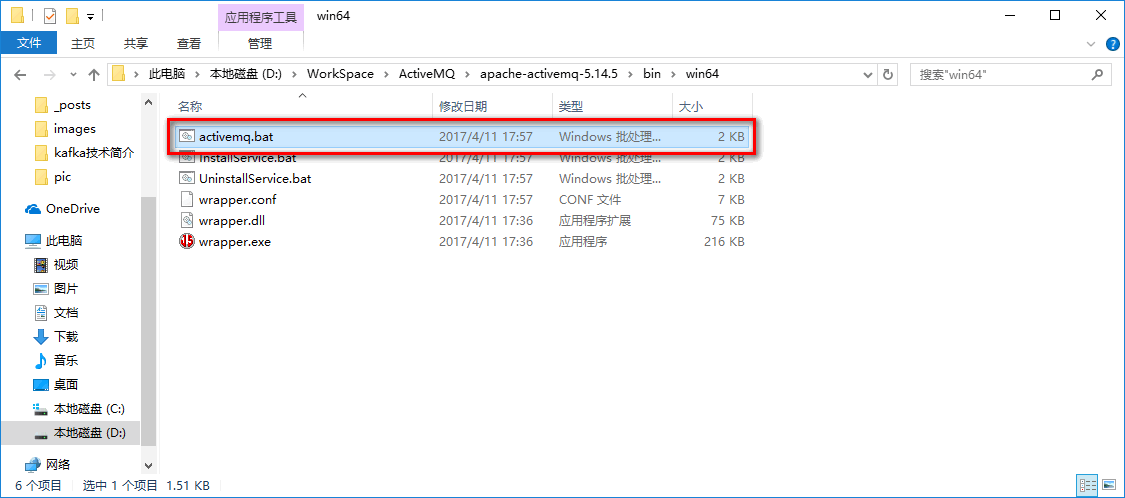
双击 D:\WorkSpace\ActiveMQ\apache-activemq-5.14.5\bin\win64 目录下的 activemq.bat 文件。
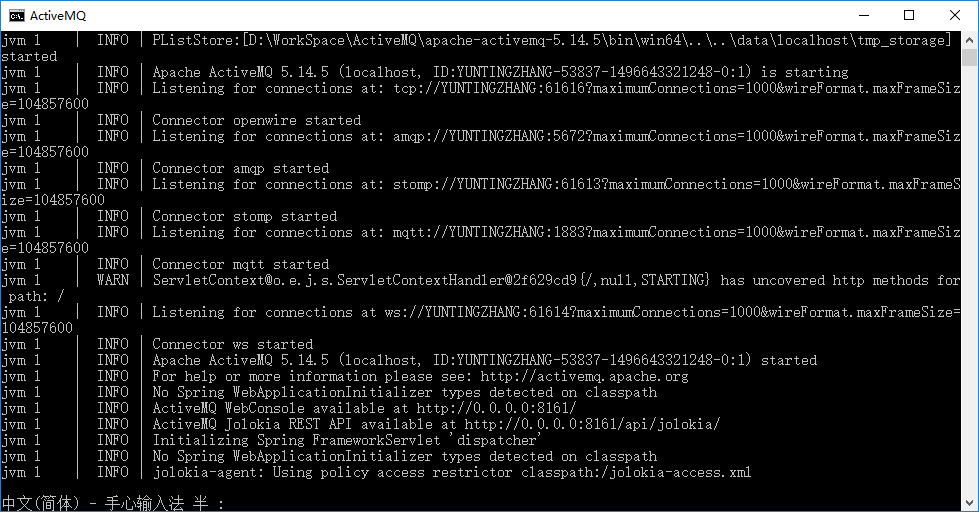
服务启动,如下图所示:

2.4.浏览器登录

在浏览器输入:

http://127.0.0.1:8161/admin/

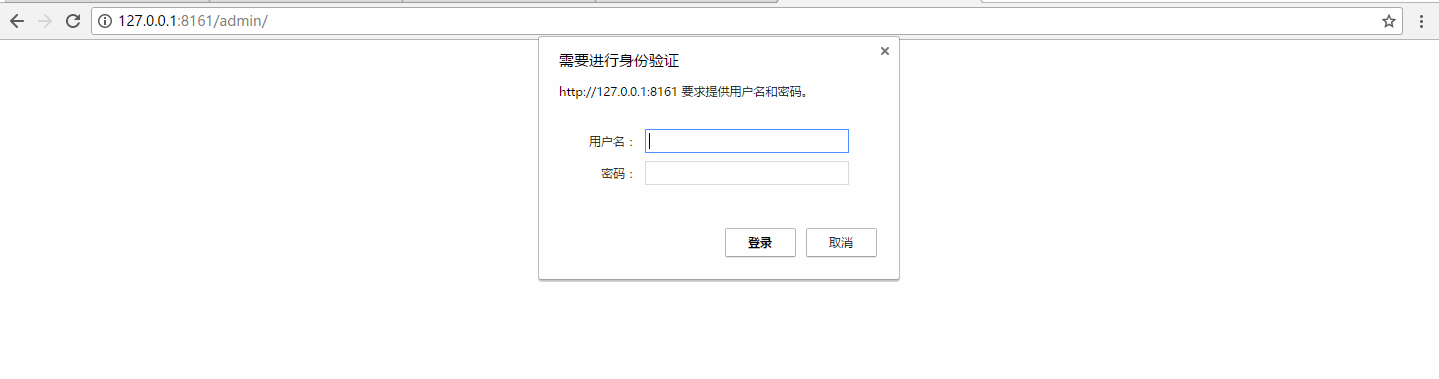
用户名和密码都是:admin。输入之后,显示如下界面。

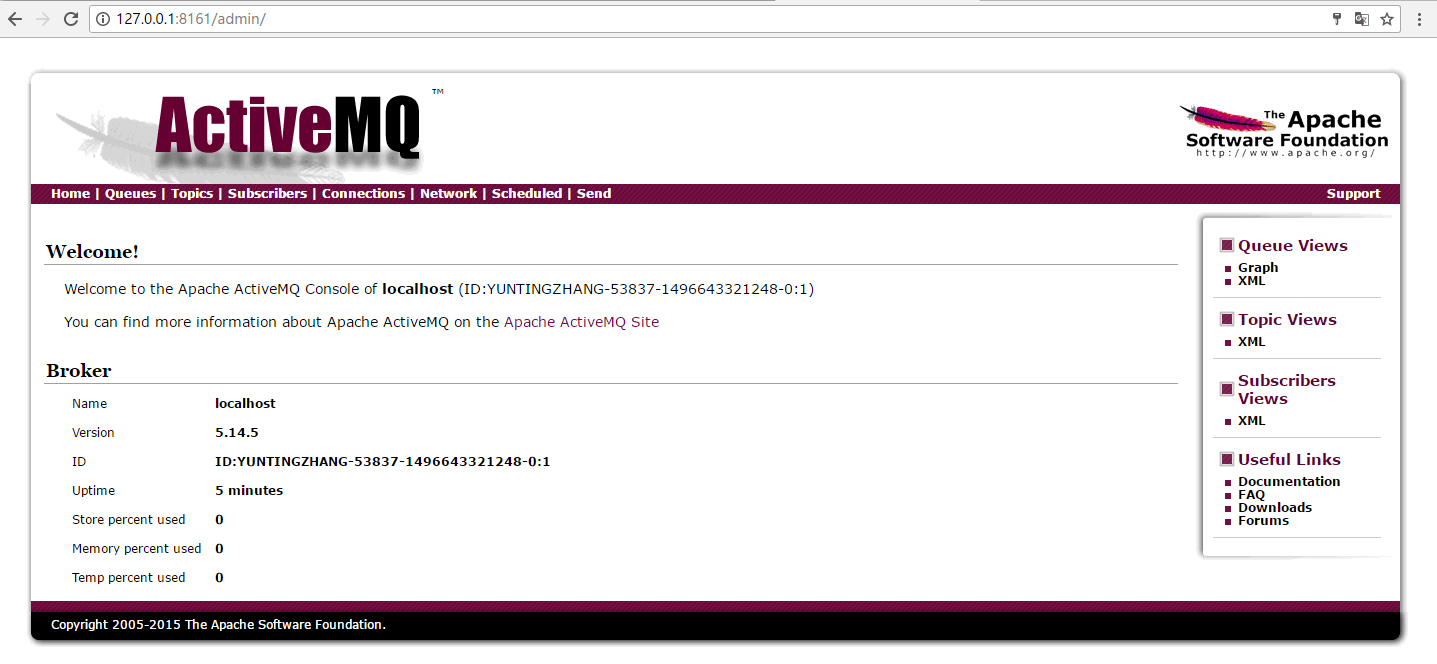
这说明 ActiveMQ 已经部署成功了。

3.ActiveMQ的使用(Java为例)
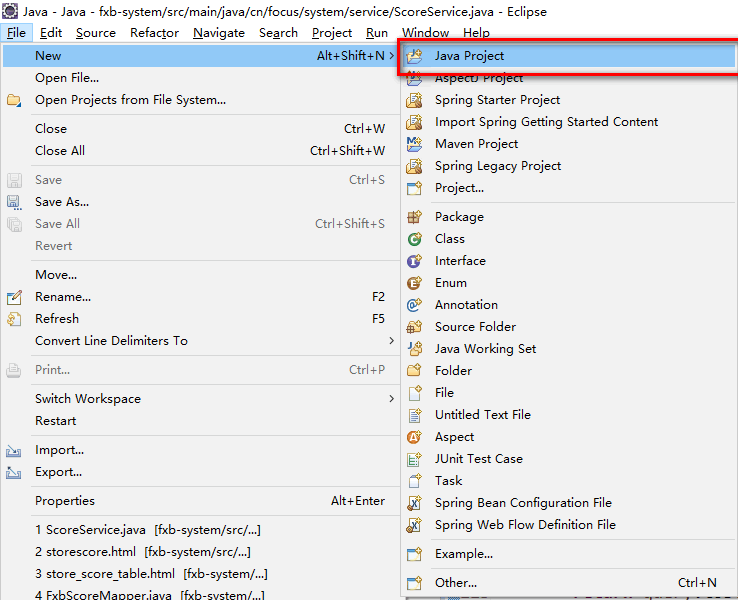
3.1.建立项目

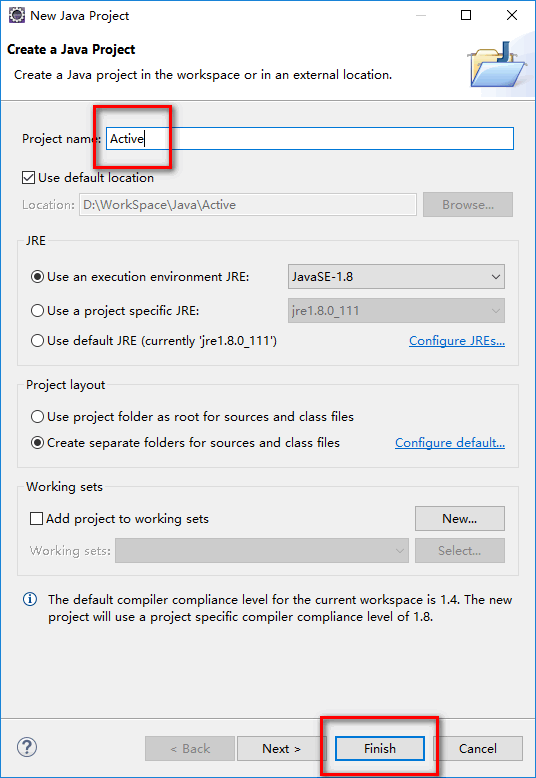
打开 Eclipse,新建一个项目,名为Active。

命名之后,点击 【Finish】即可。

3.2.添加代码

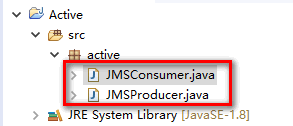
在 src 目录下添加一个叫做 active 的包,并在该包添加两个类,分别名为:JMSProducer 和 JMSConsumer。

JMSPruducer:

1
2
3
4
5
6
7
8
9
10
11
12
13
14
15
16
17
18
19
20
21
22
23
24
25
26
27
28
29
30
31
32
33
34
35
36
37
38
39
40
41
42
43
44
45
46
47
48
49
50
51
52
53
54
55
56
57
58
59
60
61
62
63
64
65
66
67
68
69
70
71
72
73
74
75
76
77
78
79
80
81
82
83
84
85
86
package active;
import javax.jms.Connection;
import javax.jms.ConnectionFactory;
import javax.jms.Destination;
import javax.jms.JMSException;
import javax.jms.MessageProducer;
import javax.jms.Session;
import javax.jms.TextMessage;
import org.apache.activemq.ActiveMQConnection;
import org.apache.activemq.ActiveMQConnectionFactory;
/**
* 消息的生产者(发送者)
*/
public class JMSProducer {
//默认连接用户名
private static final String USERNAME = ActiveMQConnection.DEFAULT_USER;
//默认连接密码
private static final String PASSWORD = ActiveMQConnection.DEFAULT_PASSWORD;
//默认连接地址
private static final String BROKEURL = ActiveMQConnection.DEFAULT_BROKER_URL;
//发送的消息数量
private static final int SENDNUM = 10;
public static void main(String[] args) {
//连接工厂
ConnectionFactory connectionFactory;
//连接
Connection connection = null;
//会话 接受或者发送消息的线程
Session session;
//消息的目的地
Destination destination;
//消息生产者
MessageProducer messageProducer;
//实例化连接工厂
connectionFactory = new ActiveMQConnectionFactory(JMSProducer.USERNAME, JMSProducer.PASSWORD, JMSProducer.BROKEURL);
try {
//通过连接工厂获取连接
connection = connectionFactory.createConnection();
//启动连接
connection.start();
//创建session
session = connection.createSession(true, Session.AUTO_ACKNOWLEDGE);
//创建一个名称为HelloWorld的消息队列
destination = session.createQueue("HelloWorld");
//创建消息生产者
messageProducer = session.createProducer(destination);
//发送消息
sendMessage(session, messageProducer);
session.commit();
} catch (Exception e) {
e.printStackTrace();
}finally{
if(connection != null){
try {
connection.close();
} catch (JMSException e) {
e.printStackTrace();
}
}
}
}
/**
* 发送消息
* @param session
* @param messageProducer 消息生产者
* @throws Exception
*/
public static void sendMessage(Session session,MessageProducer messageProducer) throws Exception{
for (int i = 0; i < JMSProducer.SENDNUM; i++) {
//创建一条文本消息
TextMessage message = session.createTextMessage("ActiveMQ 发送消息" +i);
System.out.println("发送消息:Activemq 发送消息" + i);
//通过消息生产者发出消息
messageProducer.send(message);
}
}
}

JMSConsumer:

1
2
3
4
5
6
7
8
9
10
11
12
13
14
15
16
17
18
19
20
21
22
23
24
25
26
27
28
29
30
31
32
33
34
35
36
37
38
39
40
41
42
43
44
45
46
47
48
49
50
51
52
53
54
55
56
57
58
59
60
package active;
import javax.jms.Connection;
import javax.jms.ConnectionFactory;
import javax.jms.Destination;
import javax.jms.JMSException;
import javax.jms.MessageConsumer;
import javax.jms.Session;
import javax.jms.TextMessage;
import org.apache.activemq.ActiveMQConnection;
import org.apache.activemq.ActiveMQConnectionFactory;
/*
* 消息的消费者(接受者)
*/
public class JMSConsumer {
private static final String USERNAME = ActiveMQConnection.DEFAULT_USER;//默认连接用户名
private static final String PASSWORD = ActiveMQConnection.DEFAULT_PASSWORD;//默认连接密码
private static final String BROKEURL = ActiveMQConnection.DEFAULT_BROKER_URL;//默认连接地址
public static void main(String[] args) {
ConnectionFactory connectionFactory;//连接工厂
Connection connection = null;//连接
Session session;//会话 接受或者发送消息的线程
Destination destination;//消息的目的地
MessageConsumer messageConsumer;//消息的消费者
//实例化连接工厂
connectionFactory = new ActiveMQConnectionFactory(JMSConsumer.USERNAME, JMSConsumer.PASSWORD, JMSConsumer.BROKEURL);
try {
//通过连接工厂获取连接
connection = connectionFactory.createConnection();
//启动连接
connection.start();
//创建session
session = connection.createSession(false, Session.AUTO_ACKNOWLEDGE);
//创建一个连接HelloWorld的消息队列
destination = session.createQueue("HelloWorld");
//创建消息消费者
messageConsumer = session.createConsumer(destination);
while (true) {
TextMessage textMessage = (TextMessage) messageConsumer.receive(100000);
if(textMessage != null){
System.out.println("收到的消息:" + textMessage.getText());
}else {
break;
}
}
} catch (JMSException e) {
e.printStackTrace();
}
}
}

现在代码还不能运行,因为没有引用 AvtiveMQ 的依赖包。

3.3.引入jar包

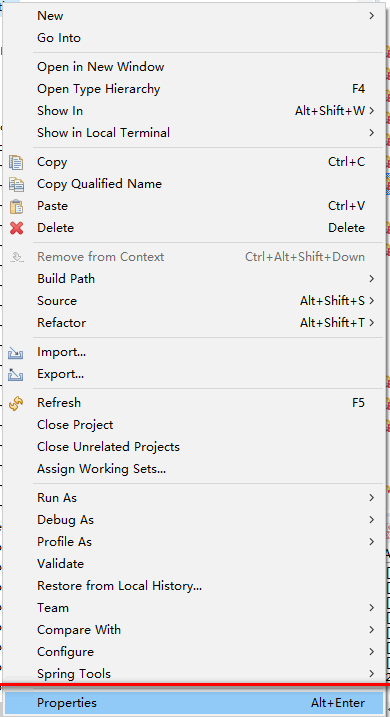
在项目上右键,然后选择【properties】

然后选择【java Build Path】-> 【Libraries】 -> 【Add Externals JARs】

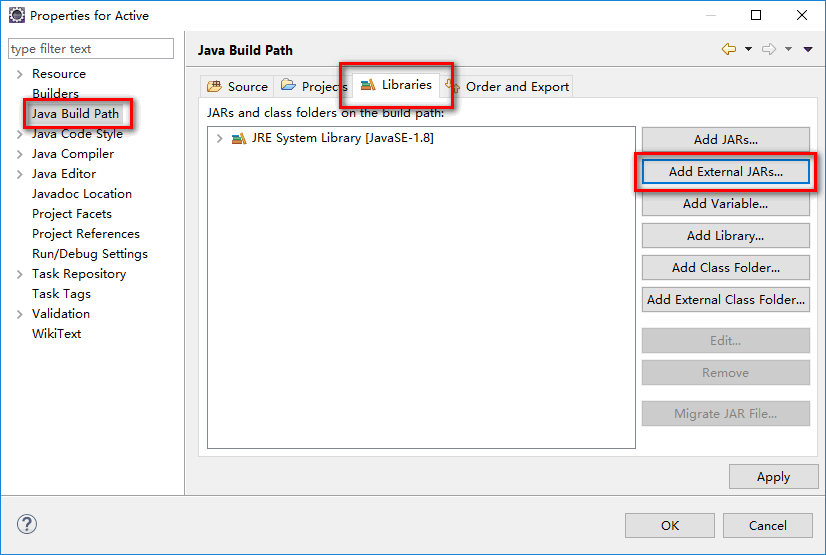
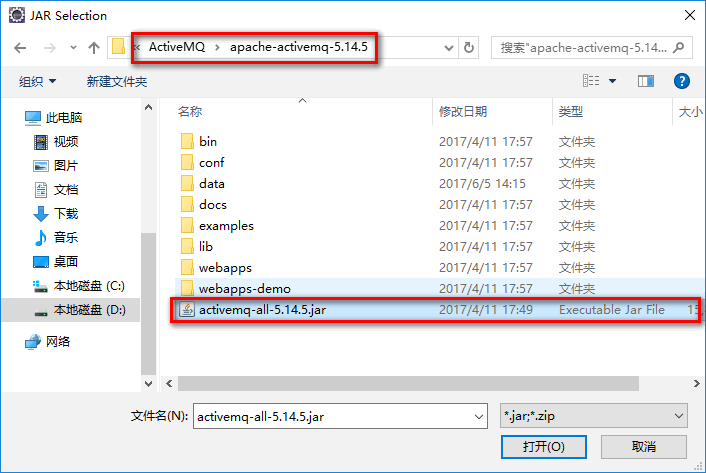
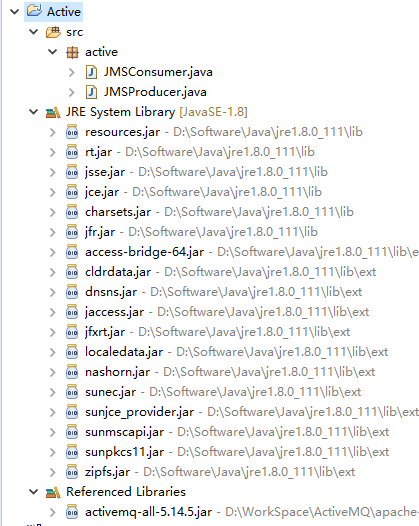
在刚才加压的压缩包里,有一个 activemq-all-5.14.4.jar 文件,引用进来。

这时项目里就没有 error 了。

3.4.测试

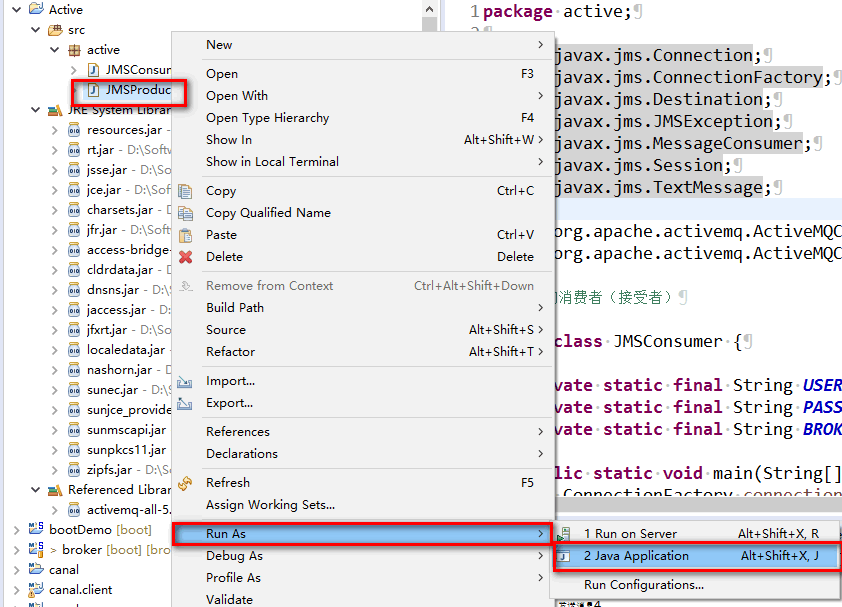
右键 JMSProducer.java,选择【Run as】 -> 【Java Application】

可以看到控制台输出如下消息:

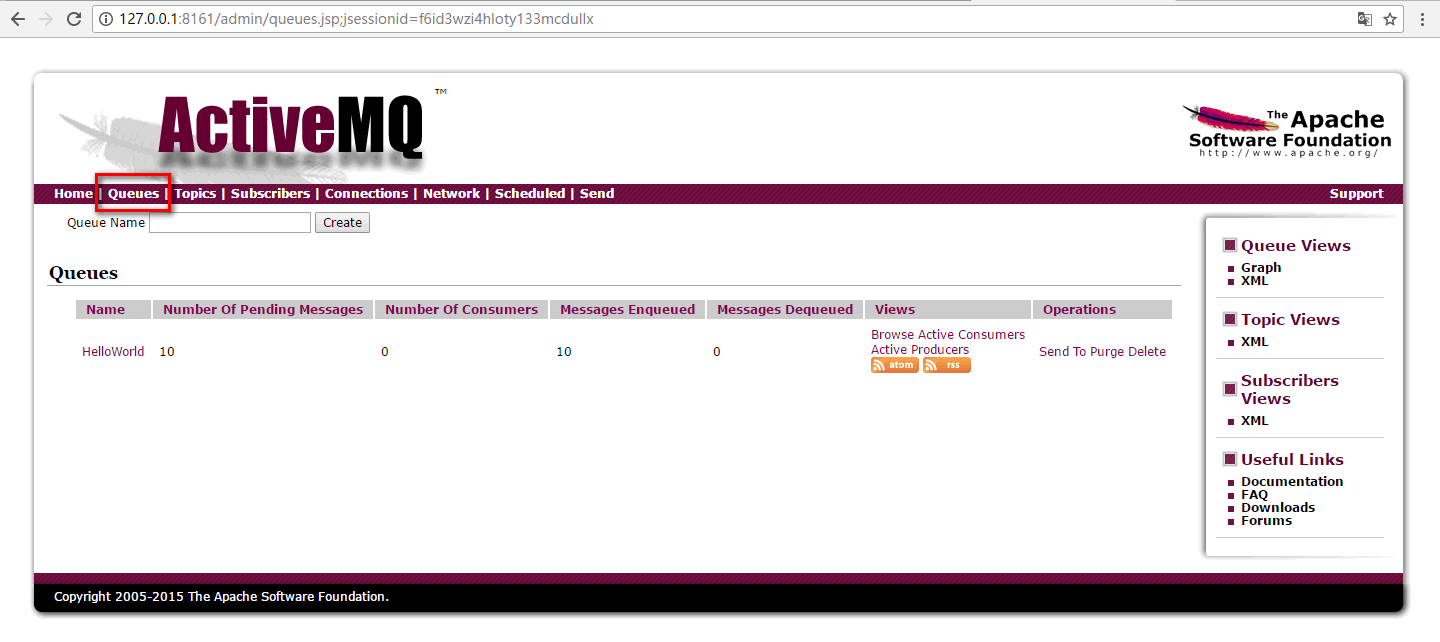
打开浏览器,点击【Queues】,可以看到刚才发送的消息:

右键 JMSConsumer.java,选择【Run as】 -> 【Java Application】,可以看到消费了的消息:

再打开浏览器,刷新,发现这些消息已经出队了:

4.参考链接

深入浅出JMS(一)–JMS基本概念